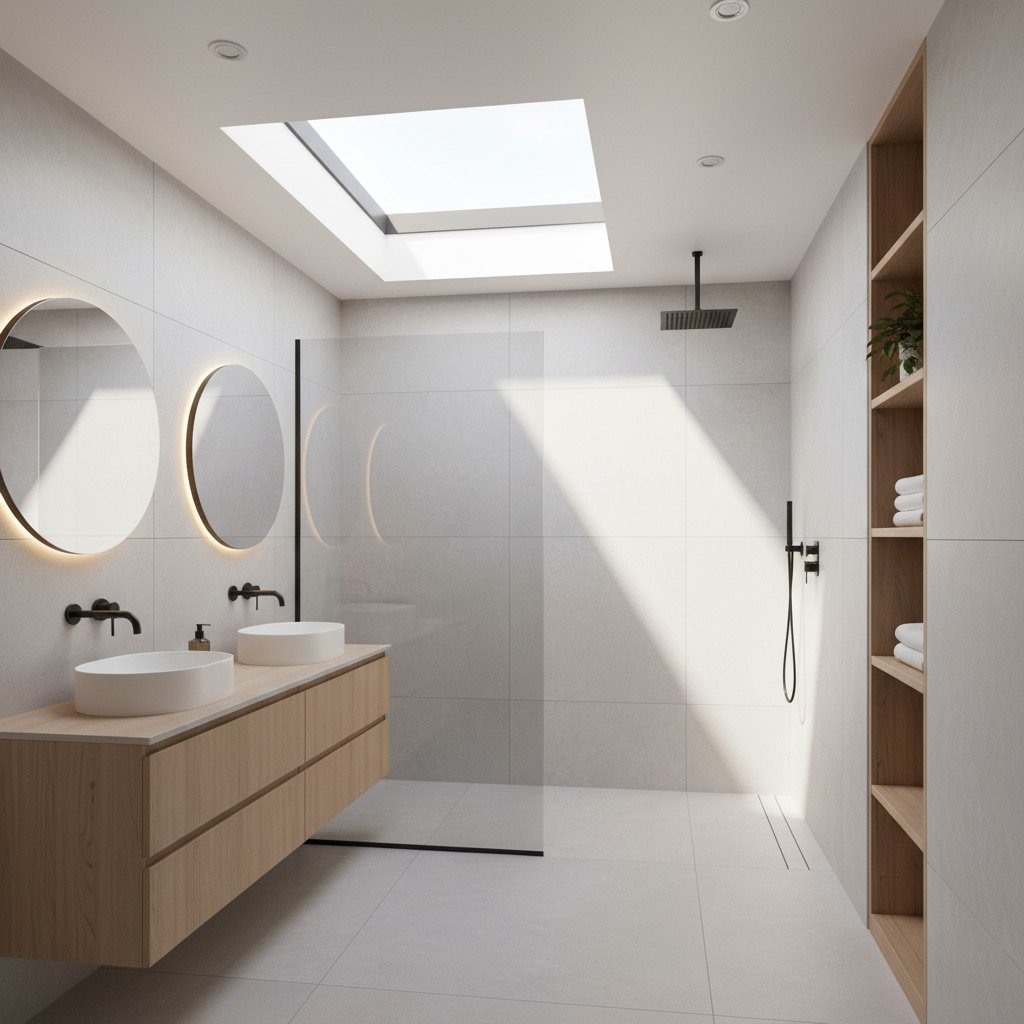
Picture this: you slide into a walk‑in tub that feels like a personal spa, and the whole thing was installed without a single surprise bill or a week‑long construction nightmare. That’s the dream, but most homeowners in San Jose end up paying for avoidable slip‑ups that turn a simple upgrade into a costly saga.
One of the biggest blunders is ignoring the city’s plumbing and building codes until the contractor is already in the bathroom. You’ll hear the dreaded “stop work” order, and suddenly your timeline stretches longer than a traffic jam on Highway 101.
Another rookie error is picking the cheapest tub on the shelf and assuming it’ll fit your space like a glove. Without precise measurements and a solid floor‑reinforcement plan, you risk cracks, leaks, or a tub that sits crooked—hardly the luxury you imagined.
Ready to sidestep these pitfalls and get a walk‑in tub that actually adds comfort and value to your home? Keep reading and we’ll walk you through the exact mistakes you can dodge, so your remodel stays smooth and on budget.

Understanding San Jose Building and Plumbing Codes for Walk‑In Tubs
Why the Code Matters
San Jose’s building department treats a walk‑in tub like any other wet‑area fixture—meaning it must pass a strict set of safety and performance checks. Ignoring those rules can trigger a stop‑work order that stalls the project and adds surprise fees.
Key code points to keep on your radar:
- Title 24 Energy Code: dictates insulation values and water‑heater efficiency.
- Plumbing fixture spacing: minimum 30 in. from the tub edge to any wall or cabinet.
- Electrical clearances: GFCI protection required within 6 ft of the tub.
- Ventilation: a dedicated exhaust fan must meet the 50 CFM minimum.
Permits, Inspections, and the San Jose Twist
Before a single tile is lifted, you’ll need a building permit and a plumbing permit. The city’s online portal lets you submit plans, but the paperwork must show compliance with the California Plumbing Code and local seismic requirements.
During the inspection, the city inspector will verify:
- Proper slope of the drain (¼ in. per foot toward the trap).
- Secure anchoring of the tub to the floor joists.
- Correctly sized waste‑and‑vent system.
Common Pitfalls and Quick Fixes
Homeowners often assume a “standard” tub will fit any bathroom. In reality, San Jose’s code forces you to account for floor joist spacing, seismic bracing, and waterproofing layers. A quick site survey by a licensed plumber can flag mismatches before the contractor breaks ground.
When you catch a code conflict early, you save time, money, and the headache of re‑doing work. Keep the city’s checklist handy, and treat every item as non‑negotiable.
Accurate Measurements and Structural Assessment: Preventing Fit Problems
Measure Twice, Cut Once
Start by sketching a to‑scale floor plan and note every obstacle—door swings, cabinets, and the existing plumbing stack. Grab a tape, a laser measurer, or even a piece of string and record the width, depth, and height of the space, then add a half‑inch buffer on each side for wiggle room.
Don’t forget the clearance for the tub’s door and the user’s entry. A quick step‑by‑step checklist can save you from a costly redo:
- Overall floor dimensions (length × width)
- Ceiling height to the tub’s highest point
- Door width and swing direction
- Location of existing water lines and vent stacks
- Space for grab bars and side rails
Check the Load‑Bearing Capacity
Walk‑in tubs can weigh up to 1,200 lb when filled, plus the weight of the user. That’s a serious load for a typical residential floor. Hire a structural engineer or a seasoned contractor to inspect the joists, subfloor, and any underlying concrete slab.
If the floor isn’t up to snuff, you’ll need reinforcement—think sistered joists, plywood sheathing, or a steel support grid. Skipping this step often leads to sagging, cracks, or a leak that turns your spa‑like upgrade into a nightmare.
Choosing the Right Walk‑In Tub: Features, Quality, and Budget Alignment
Feature Checklist
Before you fall in love with a glossy brochure, write down the must‑haves. Think about door style, seat height, and jet configuration. A tub that matches your mobility needs and spa‑like vibe will pay off.
- Door type: swing, sliding, or low‑threshold.
- Seat height: 18‑20 inches for easy entry.
- Hydro‑therapy options: air jets, whirlpool, or heated backrest.
- Controls: digital panel vs. manual knobs.
Quality Indicators
Cheap acrylic can crack under the weight of a San Jose winter. Look for tubs built with reinforced acrylic or fiberglass‑reinforced polymer. Those materials hold up when the family uses the tub daily.
- Warranty of at least 5 years.
- Factory‑tested for slip resistance.
- Certified by the ADA for accessibility.
- Positive reviews from local installers.
Budget Matching
It’s easy to get dazzled by high‑end features and forget the bottom line. Set a realistic range, then subtract the cost of necessary upgrades like floor reinforcement or custom plumbing.
- Base tub price: 40‑60 % of total project cost.
- Installation and permits: 20‑30 %.
- Optional extras (LED lighting, heated flooring): 10‑20 %.
- Contingency fund: 5 % for surprise issues.
Floor Reinforcement, Waterproofing, and Drainage Best Practices
Floor Reinforcement
Before the tub even touches the floor, the substrate must be solid enough to bear the weight of water, the tub, and a person stepping in and out. In San Jose, the code demands a minimum 1‑inch concrete slab or a reinforced wood joist system that can handle at least 150 lb/ft².
Typical reinforcement options include:
- Steel-reinforced concrete – the gold standard for durability.
- Plywood with cross‑bracing – works if the joists are spaced no more than 16 in.
- Fiber‑reinforced polymer panels – lightweight, but must be approved by the city inspector.
Waterproofing
A leak under a walk‑in tub can ruin flooring, cabinets, and even the foundation. The rule of thumb: double‑layer a waterproof membrane, then seal every seam with a silicone that’s rated for hot water.
Key steps to keep the water where it belongs:
- Apply a liquid‑applied membrane over the entire floor area, extending at least 6 in. beyond the tub footprint.
- Install a self‑adhesive sheet membrane on top, overlapping seams by 2 in. and taping them with a waterproof tape.
- Run a drip edge around the tub perimeter to direct any stray water back into the drain.
Drainage Best Practices
Even the best waterproofing can’t save you if the drain is clogged or improperly sloped. San Jose’s plumbing code requires a minimum 1/4‑inch per foot slope toward the drain, and a trap that meets the local venting standards.
Don’t forget these quick checks:
- Verify the drain pipe is at least 2 in. in diameter for a walk‑in tub.
- Install a linear drain if you want a sleek look and easier cleaning.
- Test the system with a bucket of water before closing the walls – any pooling means you need to re‑grade.
Hiring Licensed Contractors and Streamlining Permit Approval
In San Jose, a contractor without a proper license is a gamble you can’t afford. City inspectors will shut the job down the moment they spot an unlicensed hand, and you’ll be left paying for wasted labor and re‑work. Choose a pro who carries a current C‑36 plumbing license and a C‑10 general contractor badge – that’s the safety net you need.
Why Licensing Matters
Licensed contractors bring three things to the table:
- Code knowledge – they know the latest San Jose building and plumbing codes, so they won’t miss a required vent or backflow preventer.
- Insurance coverage – a slip or water damage is covered, not your pocket.
- Accountability – the city can discipline them if they cut corners, protecting you.
Permit Process Made Simple
Getting the permit doesn’t have to be a nightmare. Follow these steps and you’ll keep the city happy and the timeline tight:
- Gather a complete set of plans – include tub dimensions, floor reinforcement details, and drainage layout.
- Submit the application online through the San Jose Building Division portal; attach contractor licenses and proof of insurance.
- Schedule a pre‑inspection if the city offers it; it catches errors before the official review.
- Pay the fee promptly – delays often stem from unpaid permits.
- Once approved, keep the permit on site; inspectors will ask to see it before they sign off.
Case Study: A Seamless Walk‑In Tub Installation in a San Jose Home
The Project Brief
When the Martinez family called, they wanted a spa‑like tub without turning their bathroom into a construction zone. Their 8‑year‑old home had a modest 5‑ft × 7‑ft bathroom, and the city’s code was a moving target.
We started with a quick site visit, measured twice, and ran a structural check. The floor was a concrete slab that had settled a fraction over the past decade.
- Identify code‑specific clearance requirements.
- Confirm load‑bearing capacity for a 250‑lb tub.
- Map existing drain lines for a seamless hookup.
The Execution
First, we secured the permit. Our licensed plumber filed the paperwork while the contractor reinforced the slab with a re‑bar grid and a 1‑inch mortar bed.
Next, we installed a waterproof membrane that overlapped the existing shower curb—no seams, no leaks. The tub arrived pre‑tested, and we set it on a level laser line.
- Use a self‑leveling compound for final floor flatness.
- Attach a dedicated shut‑off valve to meet San Jose plumbing code.
- Run a new PVC drain with a 2‑inch slope for optimal flow.
The Result
Within ten days, the Martinez bathroom looked like a boutique spa. The tub sits perfectly centered, the floor feels solid, and the city inspector gave a clean sign‑off.
Home value? A modest bump, but the family’s comfort skyrocketed. They now enjoy a nightly soak without a single drip or surprise bill.
Final Words
Before you sign the last check, double‑check that every permit is stamped, every inspection cleared, and every warranty paper is on your shelf. A tidy file saves you from surprise calls when the tub decides to leak.
Quick Checklist
- Confirm city code compliance for plumbing and structural load.
- Verify the floor is reinforced and waterproofed according to the installer’s specs.
- Make sure the contractor holds a valid California license and insurance.
- Keep a copy of the Walk In Tubs product manual for future maintenance.
When you partner with a seasoned pro who respects permits and knows San Jose’s quirks, the only thing you’ll hear is the soothing splash of water, not the clatter of unexpected fees.
People Also Ask
Do I need a permit to install a walk‑in tub in San Jose?
Yes, San Jose requires a building permit for any major bathroom remodel that includes a walk‑in tub. The permit ensures the installation meets local plumbing and safety codes, and it must be approved before work begins.What are the most common sizing mistakes when adding a walk‑in tub?
Homeowners often forget to account for the tub’s door swing and the space needed for handrails and grab bars. Measuring the floor space, ceiling height, and nearby fixtures prevents costly re‑layout later.Can I install a walk‑in tub over existing flooring?
Only if the existing floor can support the tub’s weight and is properly waterproofed. In most cases, reinforcing the subfloor and adding a moisture barrier are required to avoid future leaks or structural issues.How do I choose a walk‑in tub that fits my budget without sacrificing safety?
Start by prioritizing essential safety features such as anti‑slip surfaces, built‑in grab bars, and a low‑step entry. Compare reputable brands, read reviews, and request quotes that include installation to find the best value.Why should I hire a licensed contractor for a walk‑in tub installation?
Licensed contractors are familiar with San Jose’s specific code requirements and can streamline the permit process. They also carry insurance, guarantee workmanship, and reduce the risk of improper plumbing or electrical connections.San Jose Bathroom Remodel brings over a decade of specialized experience to homeowners throughout San Jose, California. Their team of licensed craftsmen focuses on delivering high‑quality bathroom renovations that reflect the city’s diverse styles and functional needs. Committed to personalized service, they work closely with each client to turn vision into reality.
Need Bathroom Remodel?
We transform San Jose bathrooms into sleek, functional spaces, delivering quality remodels on a rapid schedule (95112, 95113, 95120, 95123, 95126). Our focused process gets you enjoying your new bathroom faster than you expect.
Get Bathroom Quote