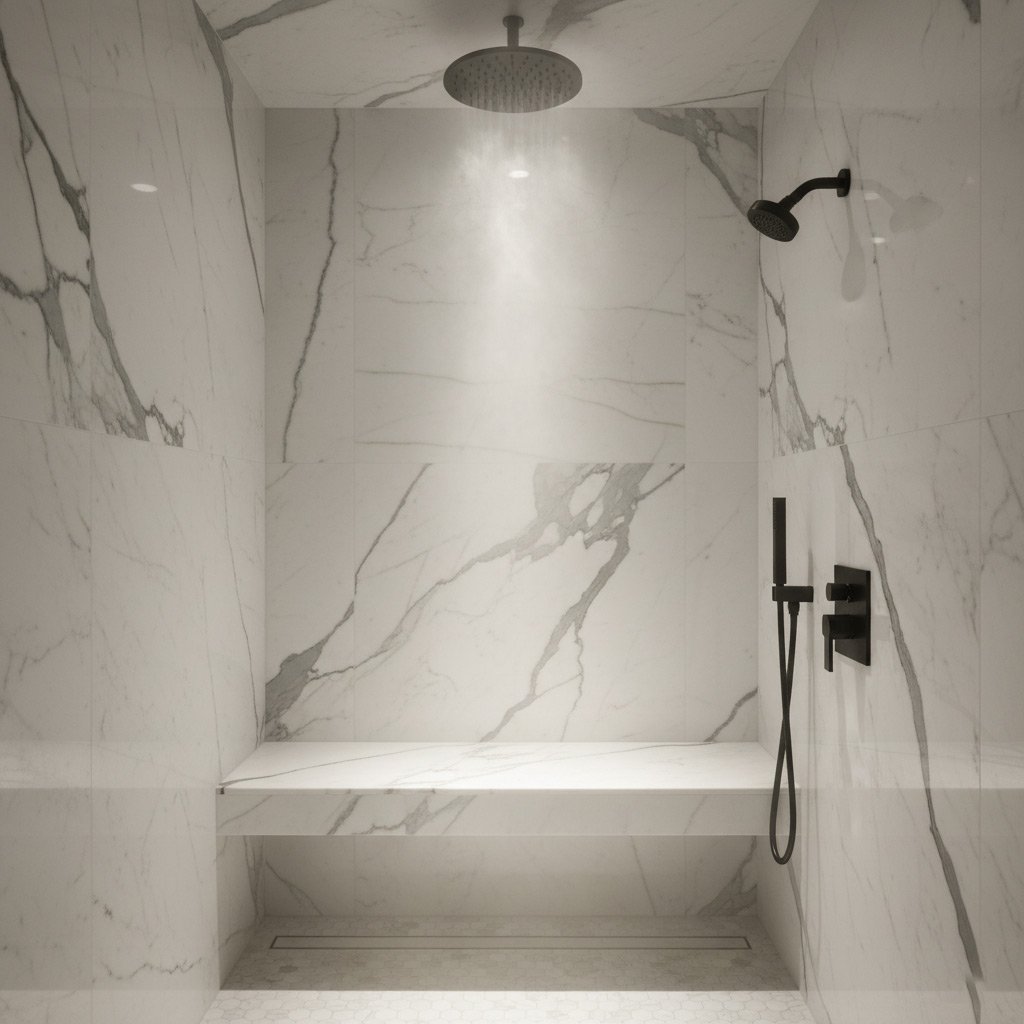
Picture this: you walk into your bathroom, and the old, cracked tub is gone—replaced overnight by a sleek, glossy surface that looks brand‑new, all without the chaos of a full remodel.
In San Jose, bathtub liners have become the shortcut many homeowners swear by, but the hype often masks hidden costs, installation quirks, and durability questions that can turn a quick fix into a long‑term headache.
If you’re ready to separate fact from fiction and discover whether a liner is the smart move for your home, keep reading and we’ll pull back the curtain on what really happens after the epoxy dries.

Types of Bathtub Liners: Acrylic, PVC, and Gel‑Coat Explained
San Jose homeowners have three main players to choose from when they consider a liner: acrylic, PVC, and gel‑coat. Each material brings its own vibe, cost curve, and lifespan. Knowing the differences before you sign a contract can save you from a surprise down the road.
Acrylic vs. PVC
Both acrylic and PVC are popular because they’re lightweight and can be molded to fit almost any tub shape. The key distinctions are:
- Acrylic feels smooth to the touch, mimics the look of a brand‑new porcelain tub, and resists yellowing for years.
- PVC is the budget‑friendlier option, but it can feel a bit plasticky and may show scratches sooner.
- Installation time is similar—usually a single day—but acrylic often requires a stronger adhesive to prevent bubbling.
- When it comes to repairs, acrylic patches blend better, while PVC patches can be noticeable.
Gel‑Coat Liners
Gel‑coat is the heavyweight champ of the trio. It’s a resin‑based finish that cures into a rock‑hard shell, giving you a glossy surface that can handle heavy use. The trade‑off? Higher material cost and a longer cure time—often 24‑48 hours before you can walk on it. On the upside, a well‑installed gel‑coat can outlast acrylic and PVC by a decade, and it resists stains and chemicals like a pro.
Pros and Cons: When a Liner Is the Right (or Wrong) Choice
Why homeowners love them
In San Jose a bathtub liner can turn a dated tub into a showroom piece in a single weekend. Speed and cost‑effectiveness are the headline act—most jobs finish under 48 hours and cost a fraction of a full remodel.
- Instant visual upgrade – glossy finish, no grout lines.
- Minimal disruption – no demolition, no plumbing overhaul.
- Budget‑friendly – typically 30‑50 % cheaper than a new tub.
When they bite you
But the shortcut has a dark side. If the existing tub isn’t perfectly level or has deep cracks, the liner can wobble or crack later, turning a quick win into a costly repair.
- Limited design freedom – you’re stuck with the shape of the old tub.
- Potential for water seepage if seams aren’t sealed right.
- Shorter lifespan – most liners last 8‑12 years, not forever.

Hidden Costs: Prep Work, Removal, and Unexpected Expenses in San Jose
Prep work you can’t ignore
Before the liner ever sees the light of day, the bathroom floor often needs a fresh, level base. Even a tiny dip can cause the epoxy to crack later, so contractors will sand, patch, or even replace sections of sub‑floor.
In San Jose, the cost of a proper prep can jump from $300 to $800 depending on how many layers of old tile or grout you have lurking under the tub.
- Moisture barrier installation – essential in a climate that loves humidity.
- Caulking and sealing gaps – a $150‑$250 line‑item that many homeowners forget.
- Electrical or plumbing adjustments – if your faucet or light is too close, expect an extra $200‑$400.
Removal surprises
Pulling out a 30‑year‑old cast‑iron tub isn’t as simple as lifting a lid. The tub is often bolted to the deck, glued to the mortar, and sometimes even fused to the plumbing.
Typical removal fees start at $500, but if the tub is rusted or the surrounding walls are water‑damaged, you could see a bill climb to $1,200.
Other unexpected expenses
Once the liner is in place, you might need to address ventilation upgrades to keep the new surface from fogging up. A modest exhaust fan can add $250‑$400.
Don’t forget the “permit” line item. San Jose requires a permit for any work that alters the plumbing layout, and that paperwork can cost $100‑$250.
Installation Process: Step‑by‑Step Timeline and Common Pitfalls
Day 1 – Prep and Old Tub Removal
First, the crew isolates the bathroom, shuts off water, and removes the damaged tub. Expect 2–4 hours for this phase, depending on how stubborn the old caulk is.
Next, they clean the flange, patch any cracks in the sub‑floor, and apply a moisture‑resistant barrier. Skipping this step is a fast track to future leaks.
Day 2 – Liner Fit, Adhesive, and Cure
The custom‑cut liner is placed on the prepared base, then a two‑part epoxy is rolled in. The adhesive needs a minimum 24‑hour cure before you can touch the surface.
While the epoxy sets, the team trims excess material and smooths edges. Rushing the cure time is the #1 reason homeowners see bubbling or delamination later.
Common Pitfalls to Watch
- Using a generic liner size instead of a precise measurement – it won’t seal properly.
- Neglecting to repair damaged joists or rot before installation – the liner will flex and crack.
- Applying too much or too little adhesive – either creates gaps or makes removal a nightmare.
- Not allowing the full cure window before reinstalling fixtures – you’ll hear creaks that could have been avoided.
Durability & Maintenance: How Long Do Liners Really Last?
What the warranty actually covers
Most reputable San Jose installers back their liners with a 10‑ to 15‑year warranty. That isn’t a magic guarantee; it only applies if the tub was properly prepped, the liner was installed according to manufacturer specs, and the homeowner follows basic care rules.
If you skip the prep or use abrasive cleaners, you’ll void that protection faster than you can say “epoxy.” In other words, the warranty is a partnership, not a free‑ride.
Everyday upkeep that adds years
Keeping a liner looking fresh is easier than you think. A few disciplined habits can push the lifespan well beyond the warranty window.
- Wipe down the surface after each use with a soft, non‑abrasive cloth.
- Use only pH‑neutral cleaners; avoid bleach, ammonia, or harsh scrubs.
- Check the caulk line quarterly; replace any cracks before water seeps behind the liner.
When a liner starts to fail
Watch for these red flags: bubbling edges, persistent stains that won’t come out, or a noticeable “soft” spot when you press the surface. Those are signs the adhesive or the liner itself is breaking down.
Addressing the issue early—usually by re‑sealing or, in worst cases, replacing the liner—saves you from a full‑scale tub replacement later on. The sooner you act, the less you’ll pay.
Case Study: Revamping a 1970s Tub in San Jose – Real Results and Lessons Learned
When the Martinez family called us, their 1970s claw‑foot tub looked like a relic from a bad sitcom—cracks, chips, and a glaze that had long since faded. They wanted a fresh look without tearing down the whole bathroom, and they had a tight budget.
What We Found Under the Surface
The inspection revealed three red flags that most homeowners miss:
- Extensive cracking that had seeped into the underlying cast iron.
- Old caulking that was moldy and pulling away from the wall studs.
- A non‑standard tub shape that would challenge a one‑size‑fits‑all liner.
These issues meant we couldn’t just slap on a cheap acrylic sheet and call it a day. The prep work would dictate the final price.
The Solution We Delivered
We chose a high‑quality gel‑coat liner because it adheres well to irregular surfaces and offers a glossy finish that mimics porcelain. The process unfolded in three clear steps:
- Removal: Carefully stripped the old tub, salvaging the surrounding tile to avoid extra demolition.
- Prep: Sanded the cast‑iron shell, filled deep gouges with epoxy filler, and applied a primer designed for metal.
- Installation: Laid the gel‑coat liner, cured it for 24 hours, then sealed the edges with silicone.
The whole job took just under a week, and the family was able to use the bathroom again after the second day.
Results That Speak for Themselves
Six months later, the Martinez tub still shines like new. Here’s what they reported:
- No visible cracks or chips.
- Maintenance reduced to a quick wipe‑down; no more grout cleaning around the tub.
- Increased home value perception—real estate agents noted the upgrade during a showing.
One lesson stood out: skipping the prep to save a few dollars ends up costing far more in future repairs. A solid foundation is the secret sauce for a liner that lasts.
Final Words
Before you sign the contract, ask yourself three simple questions: Do I need a full remodel? Can a liner handle my daily wear? If the answer is “yes” to both, you’re probably on the right track.
Quick Decision Checklist
- Budget — Know the total, not just the headline price.
- Timeline — Most installations finish in 2‑3 days.
- Warranty — Look for at least 5 years on material and labor.
When you’re ready to move forward, reach out to a local pro who specializes in Bathtub Liners. A reputable installer will walk you through the prep, show you sample finishes, and lock in a clear schedule.
Next Steps
Schedule a free on‑site assessment. It takes less than an hour, and you’ll walk away with a written quote and a realistic timeline.
Finally, keep a spare day in your calendar for the post‑install inspection. A quick walk‑through catches any edge‑to‑edge issues before the epoxy fully cures, saving you headaches later.
People Also Ask
What are the main differences between acrylic, PVC, and gel‑coat bathtub liners?
Acrylic liners are lightweight, easy to install, and offer a glossy finish, while PVC liners are the most budget‑friendly but can feel less premium. Gel‑coat liners provide a high‑gloss, durable surface that mimics the look of a brand‑new tub but are typically more expensive.Can a bathtub liner fix cracks and chips in an old tub?
Yes, a properly installed liner can cover most surface imperfections, including cracks, chips, and stains, giving the tub a fresh appearance. However, severe structural damage or extensive water damage may require a full tub replacement instead.How long does a bathtub liner typically last in San Jose’s climate?
With regular maintenance, a quality liner can last 10–15 years, even in the humid Bay Area environment. Proper cleaning and avoiding abrasive cleaners will help extend its lifespan.What hidden costs should homeowners expect when adding a bathtub liner?
Beyond the liner material, expect expenses for surface preparation, old tub removal, possible plumbing adjustments, and disposal fees. Some contractors may also charge for travel or permit fees specific to San Jose.Is a bathtub liner a good DIY project or should I hire a professional?
While DIY kits exist, professional installation ensures proper adhesion, a seamless finish, and compliance with local building codes. Hiring a licensed installer reduces the risk of leaks, bubbles, or premature failure.San Jose Bathroom Remodel specializes in comprehensive bathroom renovations, bringing over a decade of craftsmanship to homes throughout San Jose. Their team combines local knowledge with a commitment to quality workmanship, ensuring each project reflects the unique style and functional needs of the community.
Need Bathroom Remodel?
We transform San Jose bathrooms into sleek, functional spaces, delivering quality remodels on a rapid schedule (95112, 95113, 95120, 95123, 95126). Our focused process gets you enjoying your new bathroom faster than you expect.
Get Bathroom Quote